Seamless Data Transfer: Importing and Exporting Excel Data with SSMS 2019 and SQL Server 2022
Data enthusiast. Curious about all things data.
If you've ever faced challenges importing data into a MSSQL database, fret not. Here's a step-by-step tutorial with key learnings for achieving a seamless data transfer. This guide is tailored for SQL Server Management Studio 2019 (SSMS) and SQL Server 2022, the latest versions.
Let's dive in!
Step 1: Download SQL SERVER
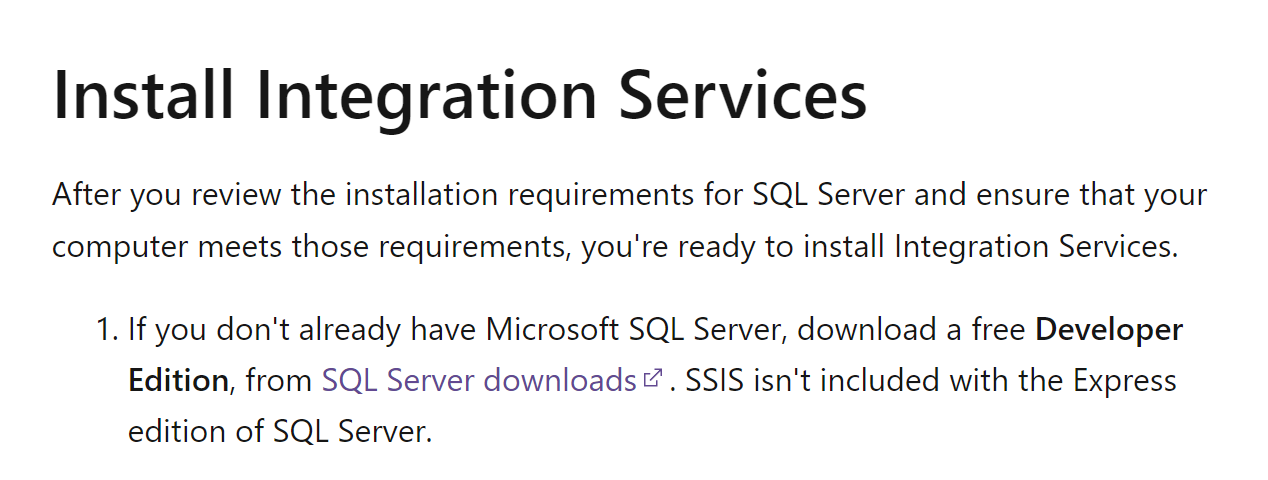
Head to https://www.microsoft.com/en-us/sql-server/sql-server-downloads and choose the Developer Edition. This grants access to powerful features like Integration Services, crucial for data transfer needs.
(See the extract below from the Microsoft web page)
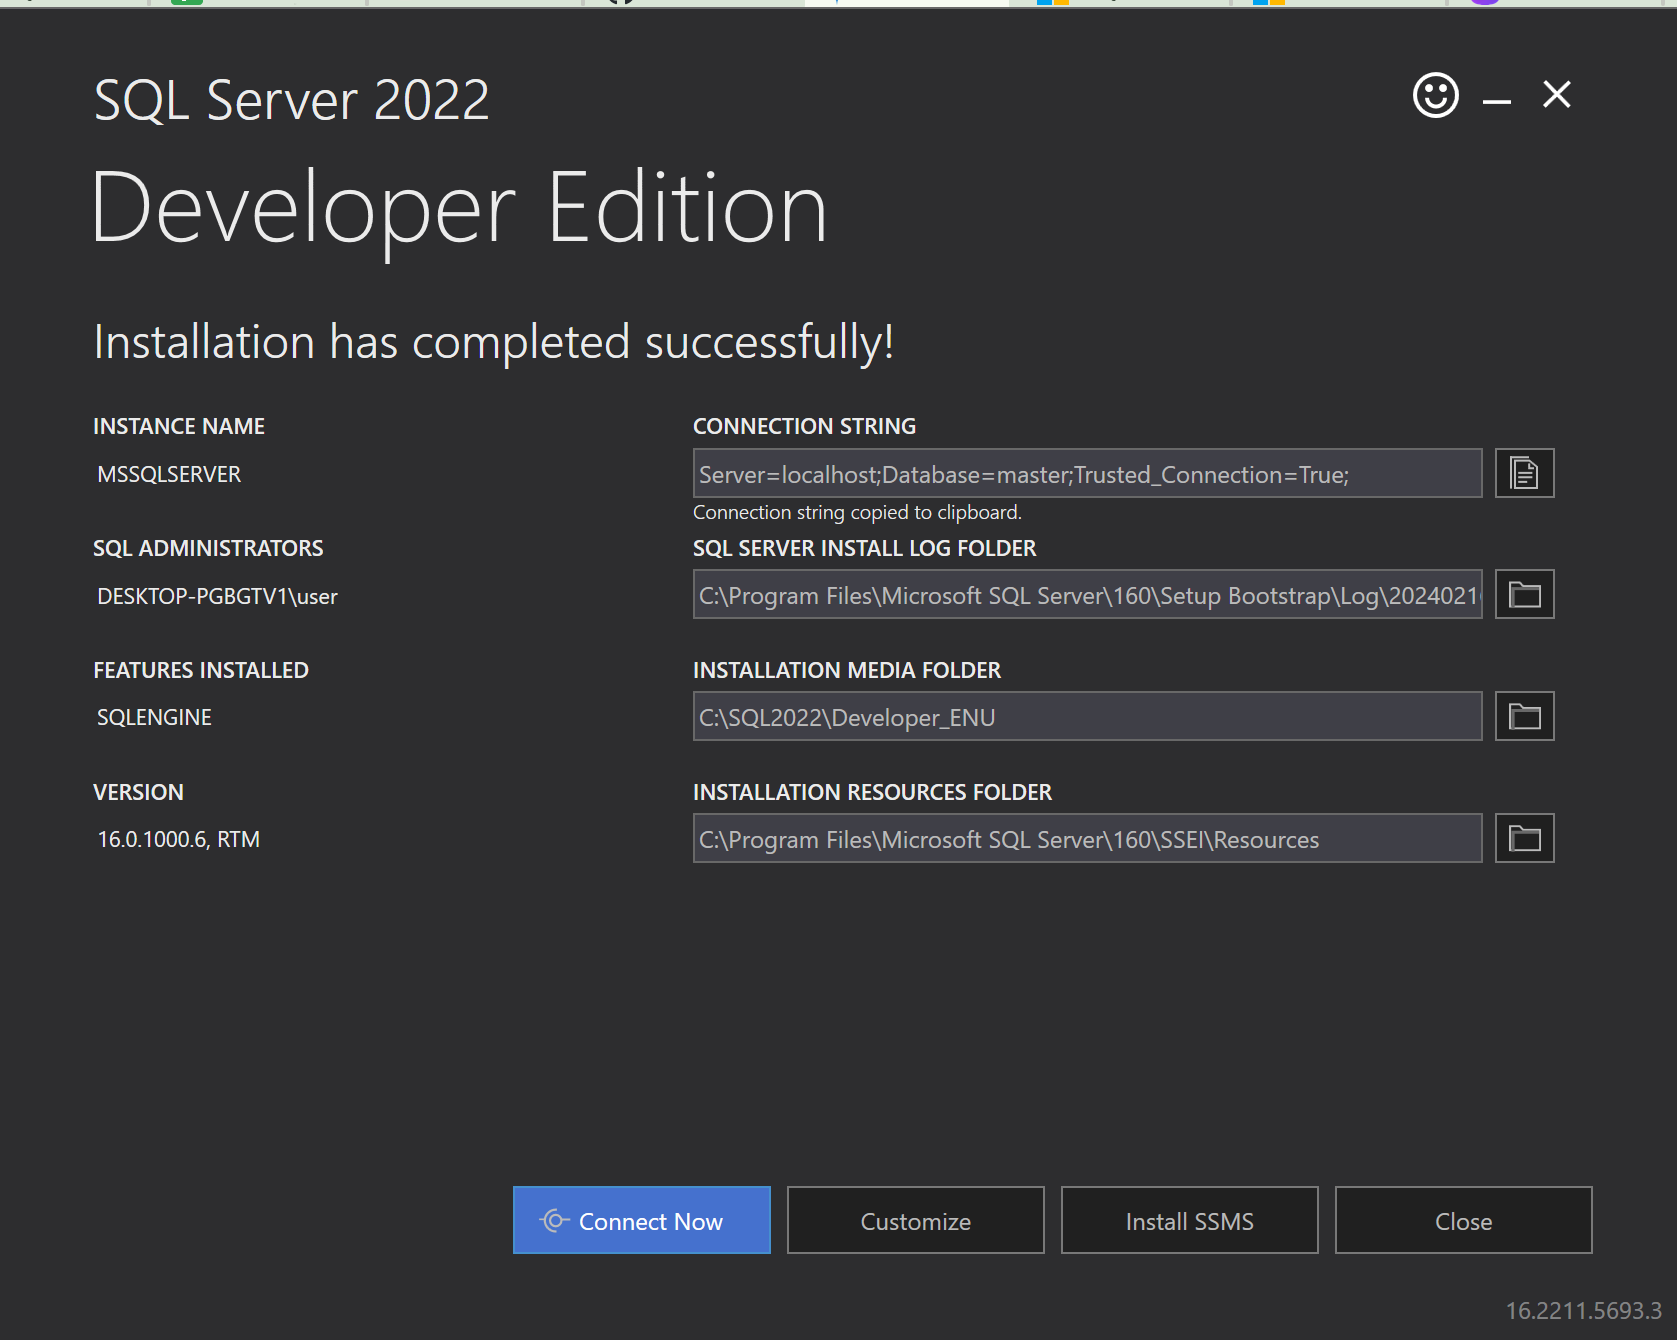
Set Up SQL Server 2022
- Install the Basic installation type, and ensure a successful installation is confirmed:
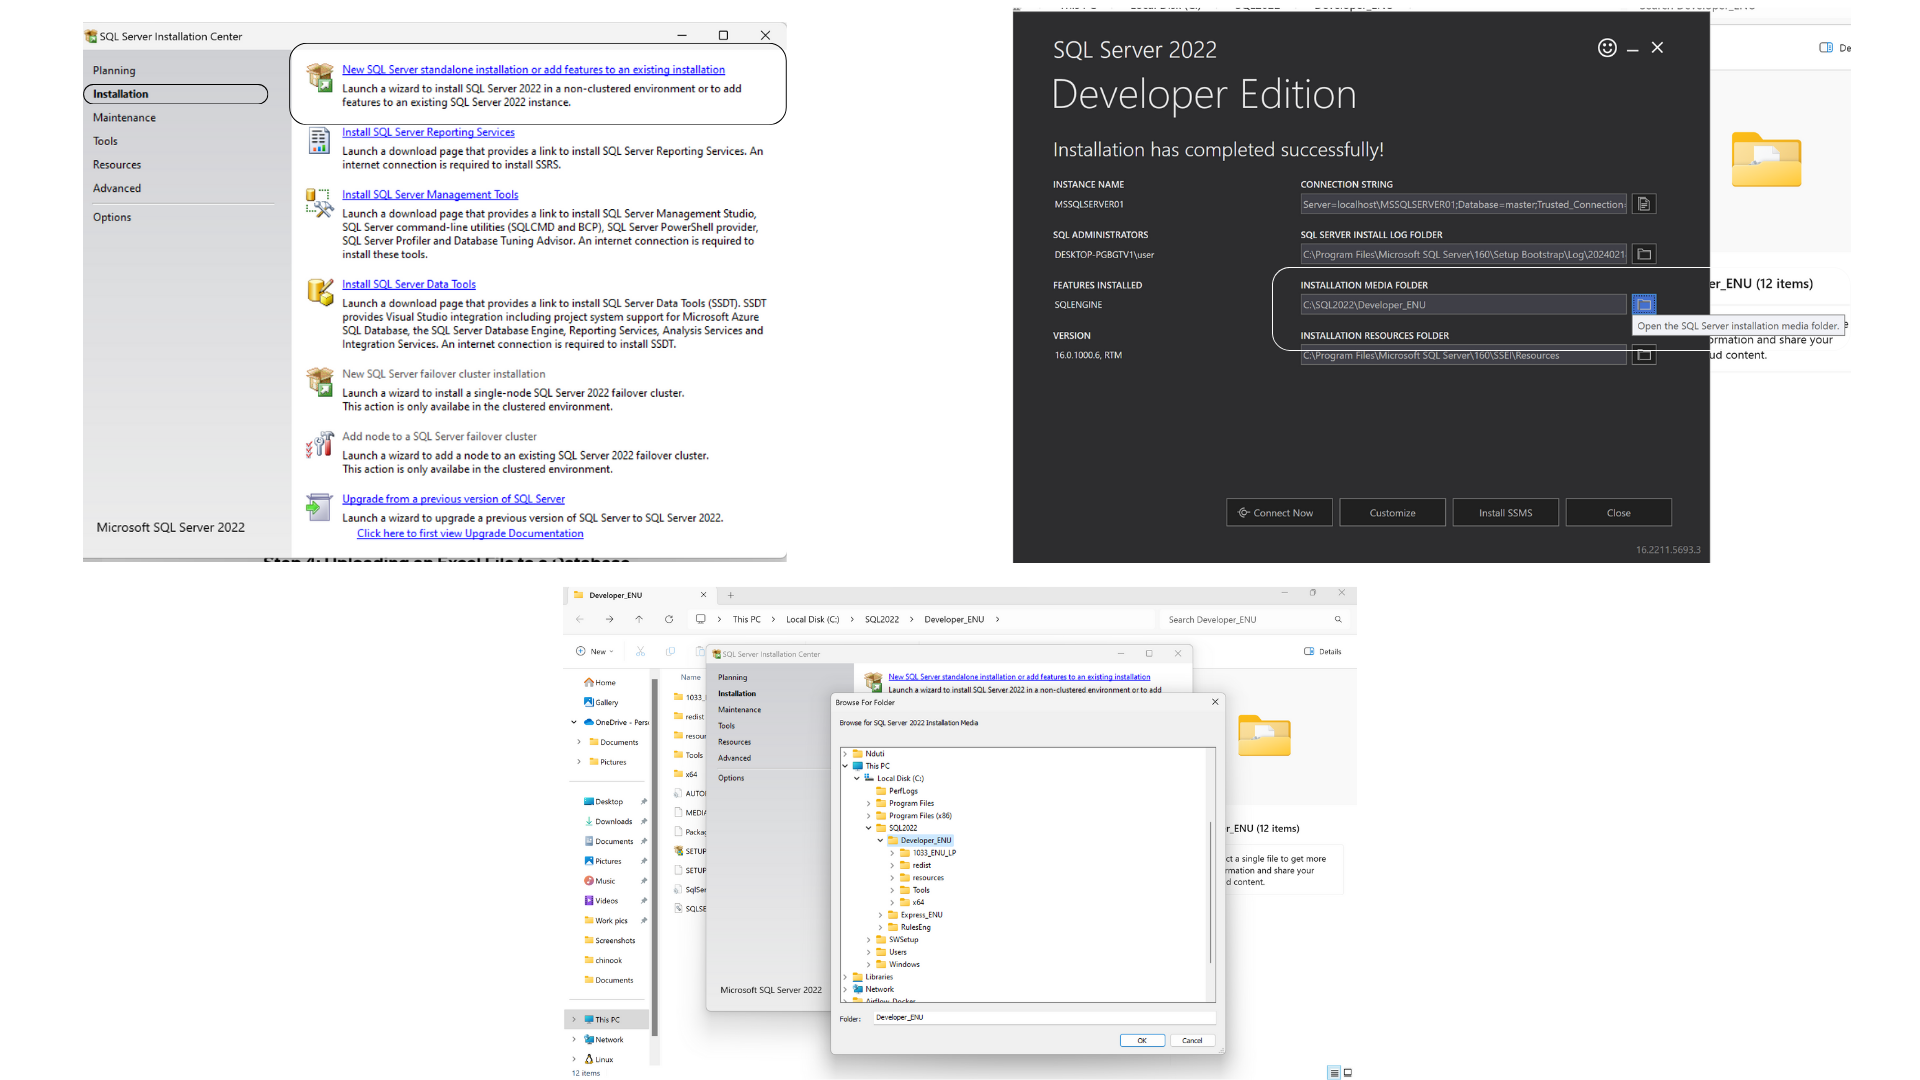
- Search for the SQL Server Installation Centre and open it.
Steps;
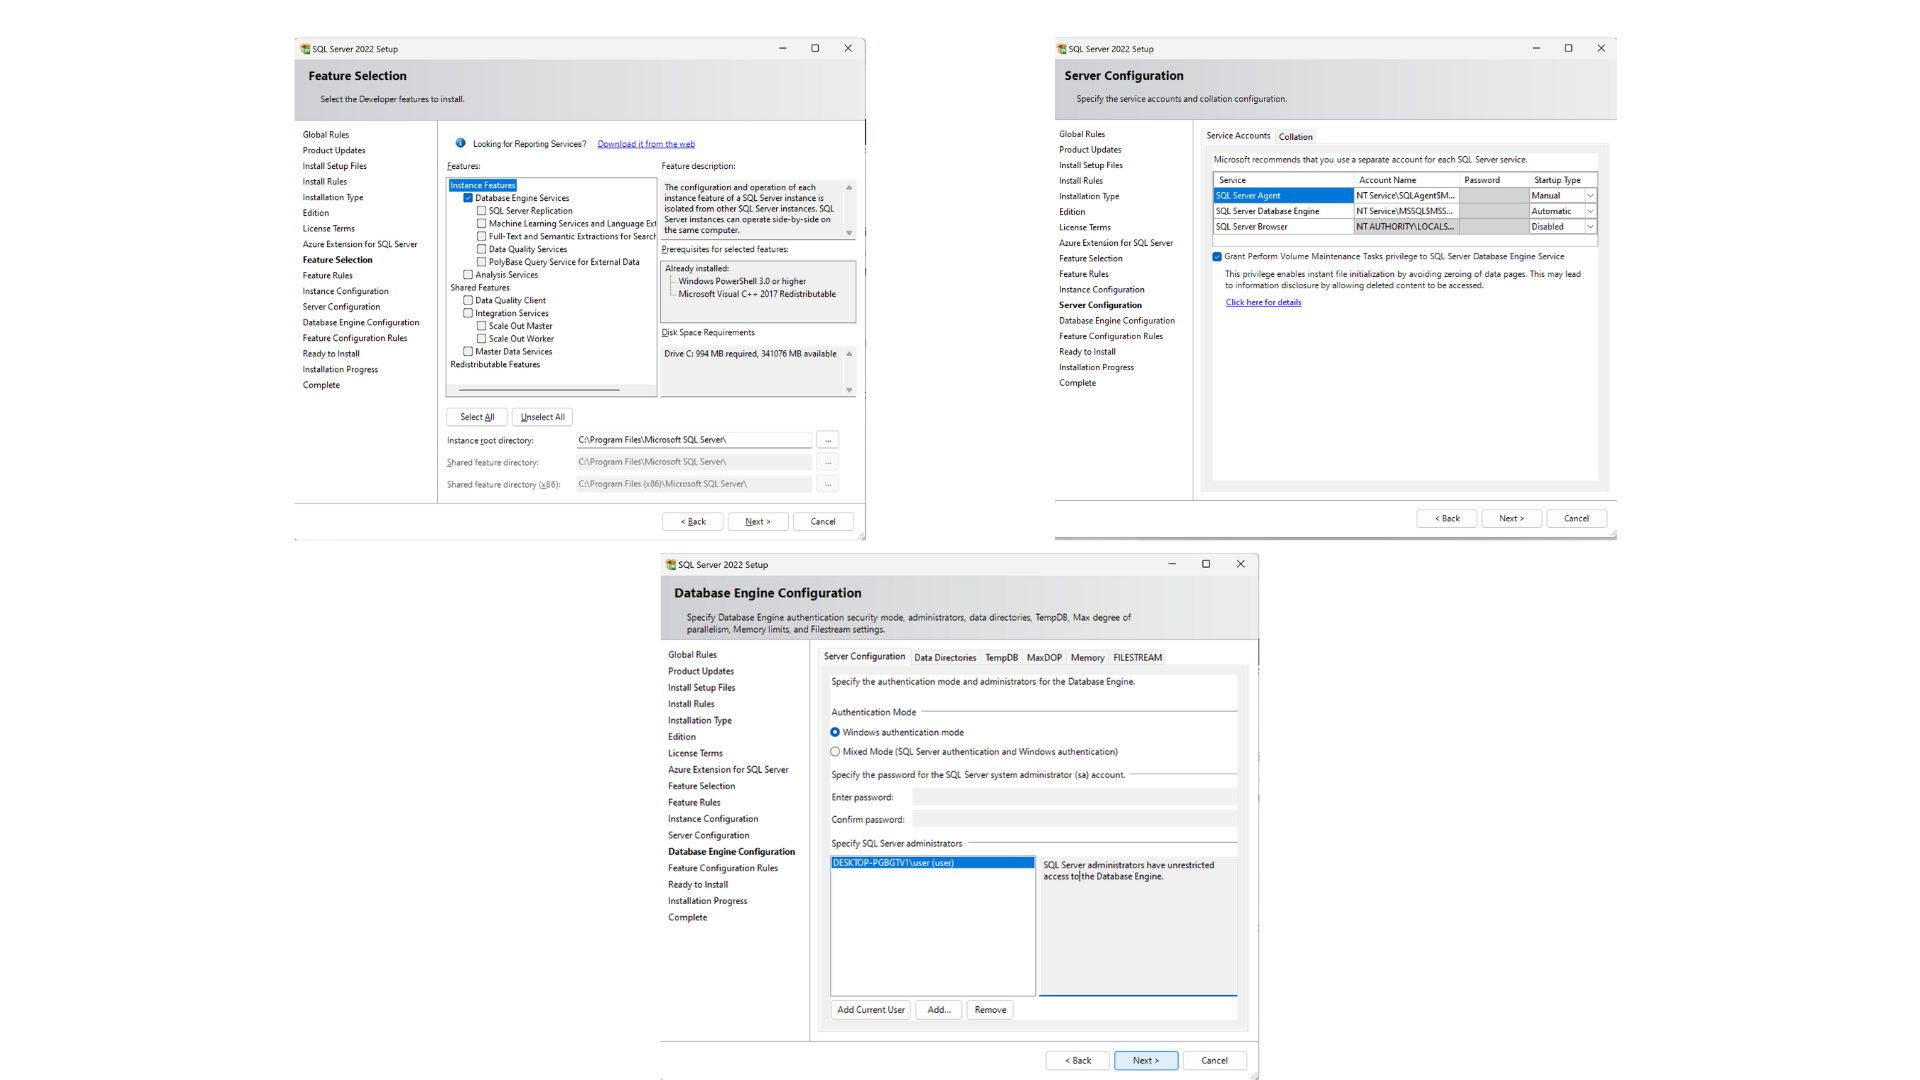
Go to the Installation Tab and click on "New SQL Server Standalone Installation."
Navigate to the location where files have been saved. You can find this information in the "Features Installed" option.
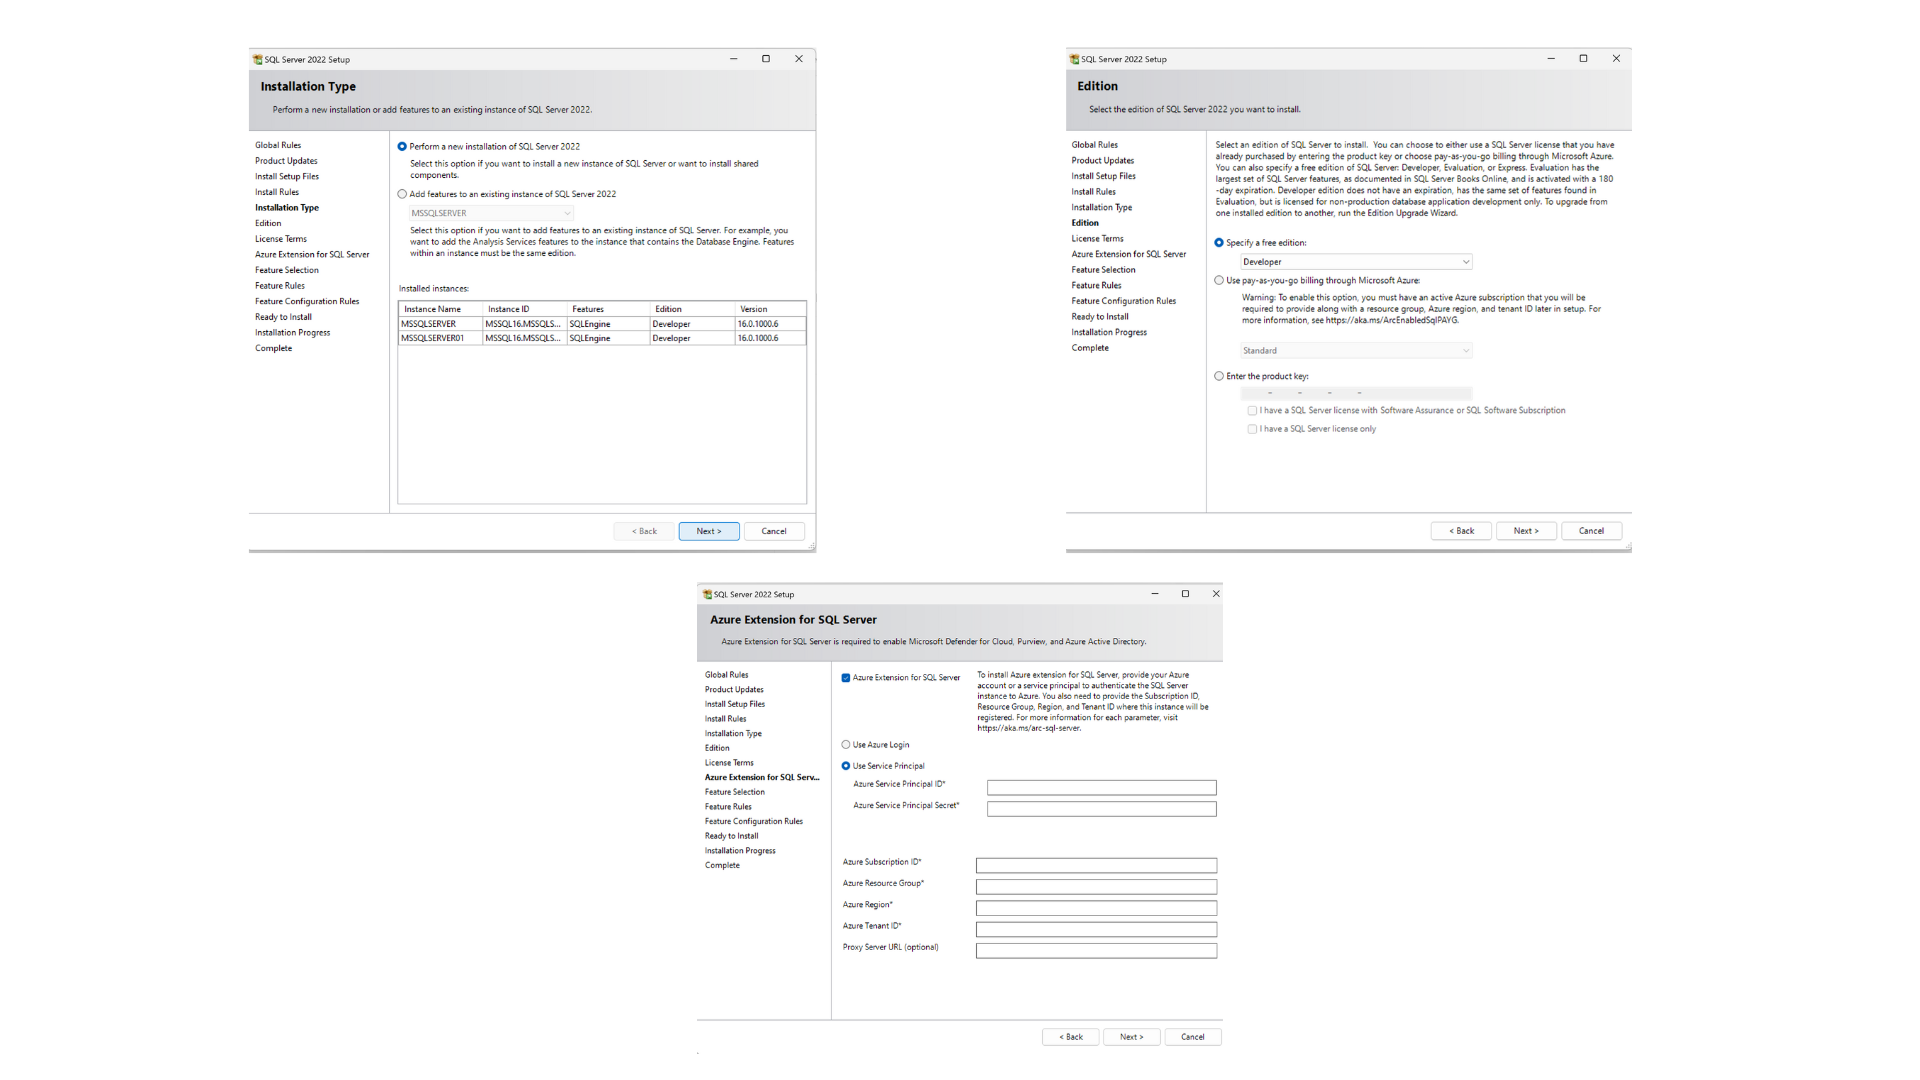
Perform installation on a new installation server, unchecking the Azure extension if you don't have an Azure account.
Select 'Database Engine Services' and 'Integration Services' during installation.
On 'Database Engine configuration,' choose 'Windows Authentication mode' and add a user under 'Specify SQL Server administrators.' Complete the installation.
Step 2. Install SQL Server Management Studio
Download and install 'SQL Server Management Studio' from this link.
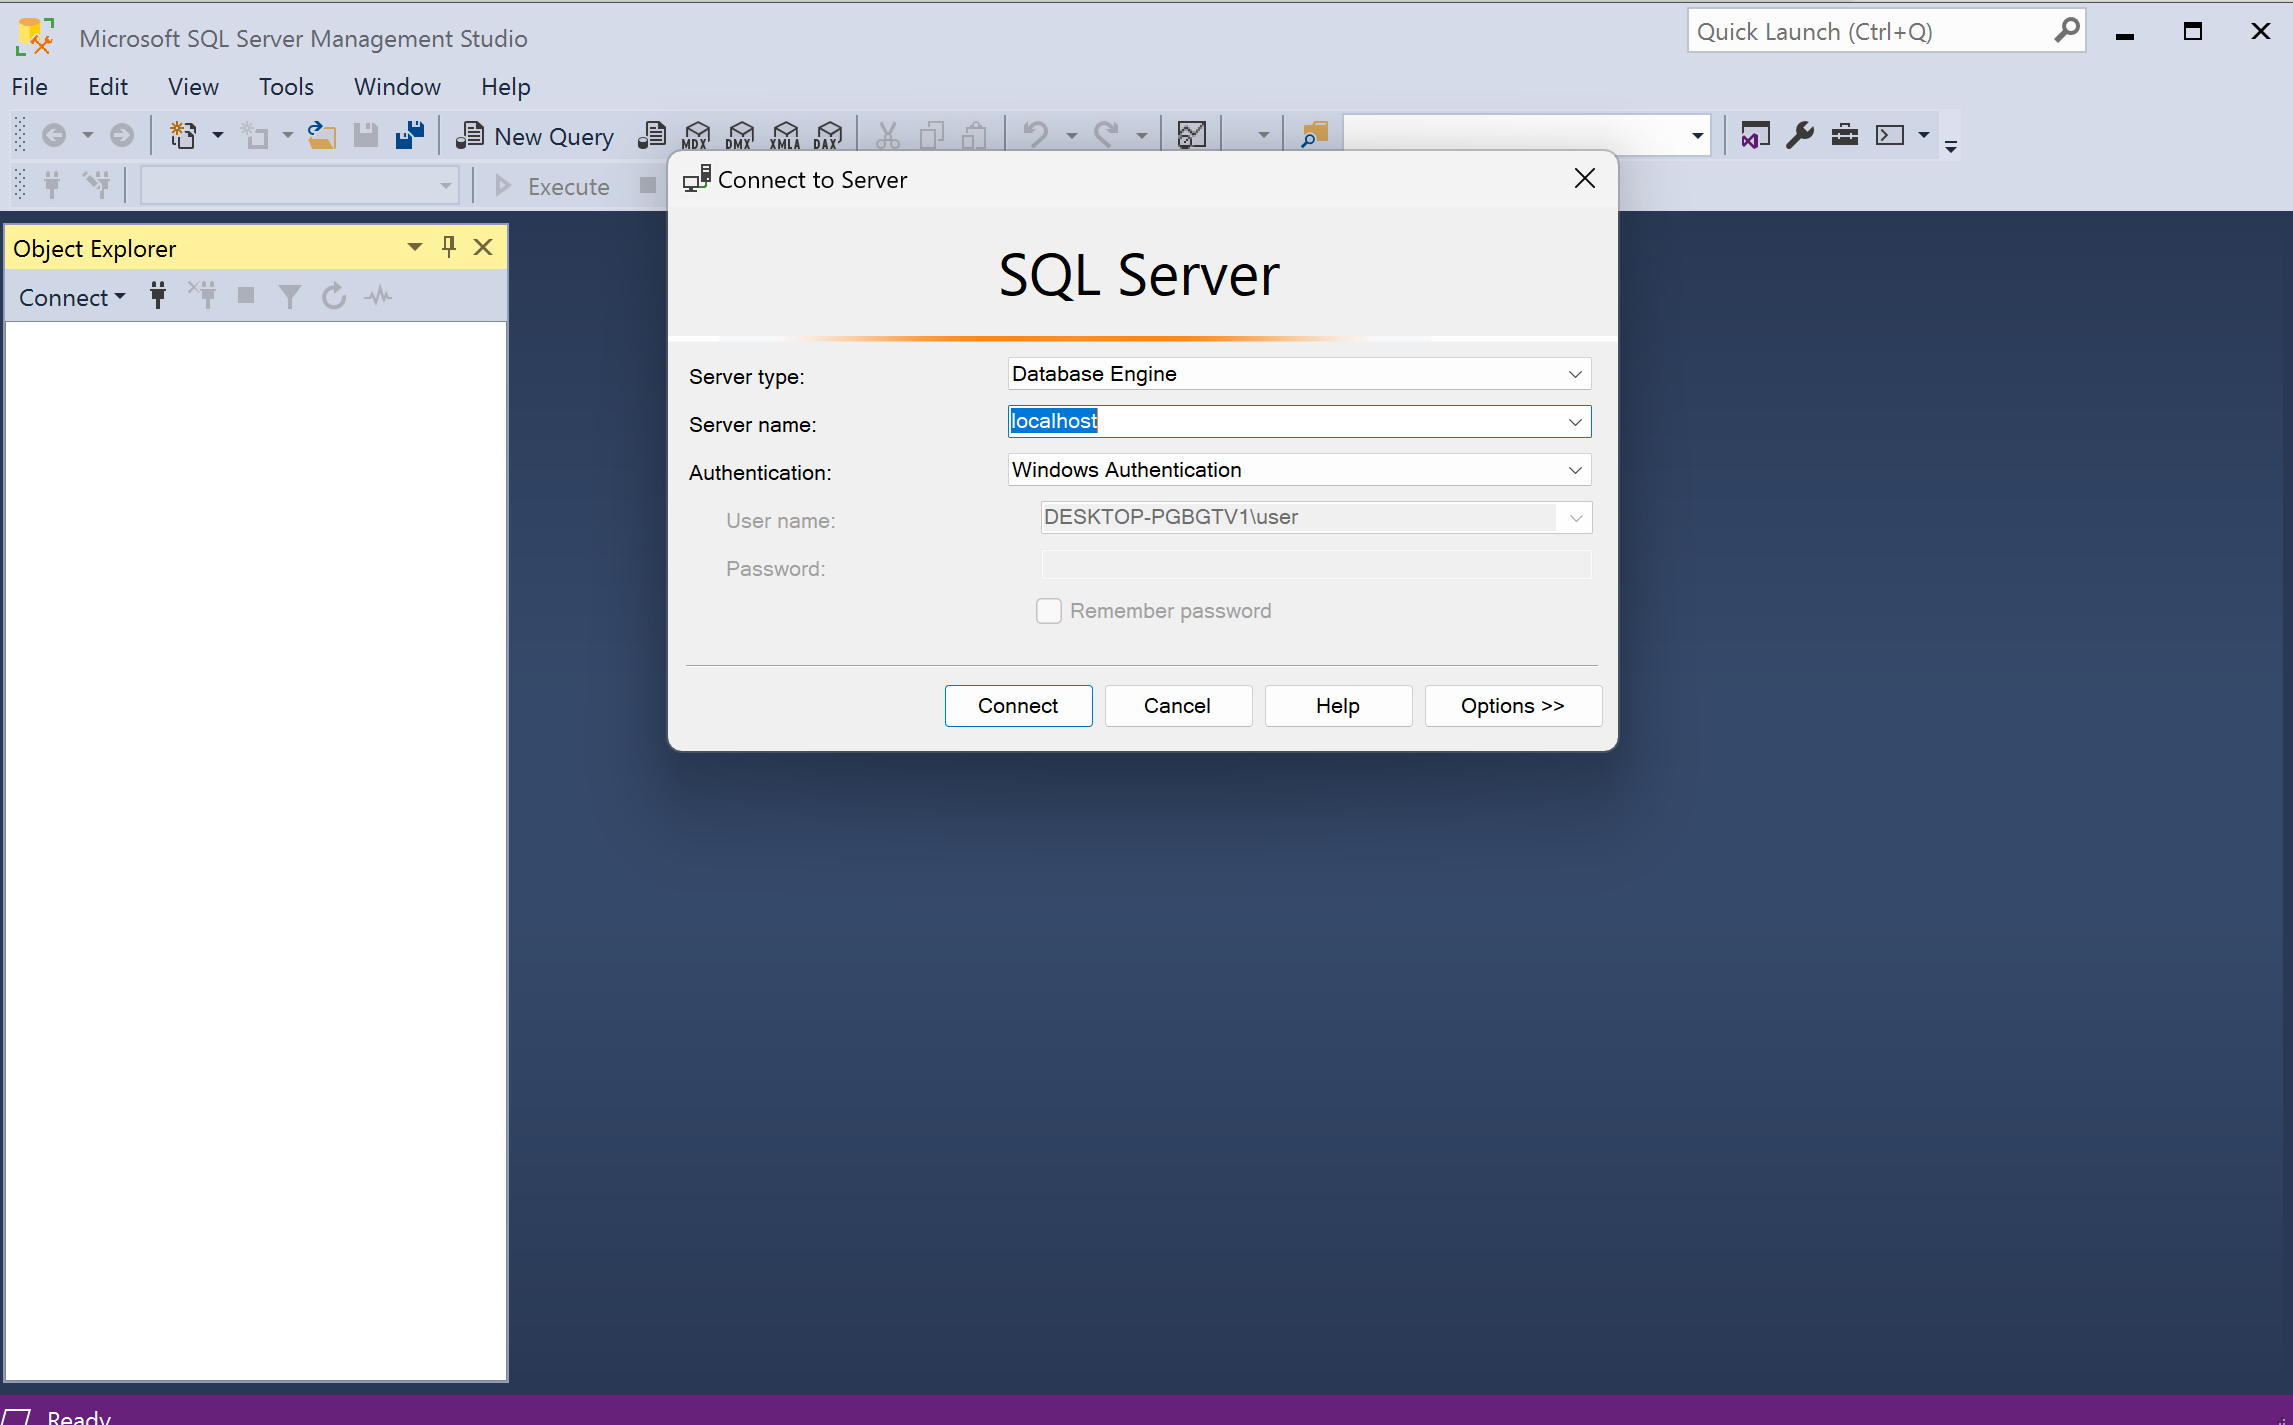
Step 3: Connect SMSS to SQL Server
Launch SSMS, use 'Windows Authentication', and for the first time, input 'localhost' as the server name. Click connect.
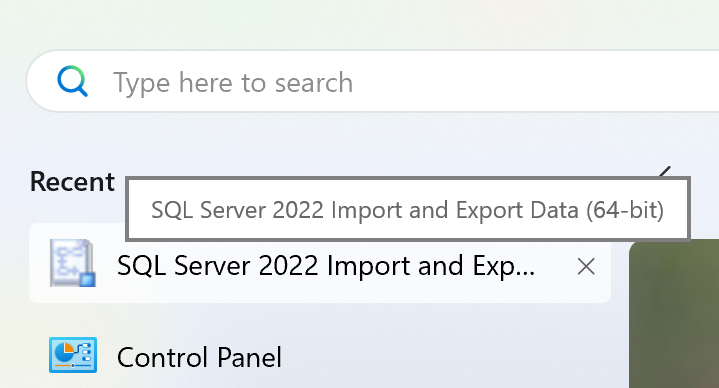
Step 4: Uploading an Excel File to a Database
- Search for 'SQL Server 2022 Import and Export' in your apps
- You should land on this page;
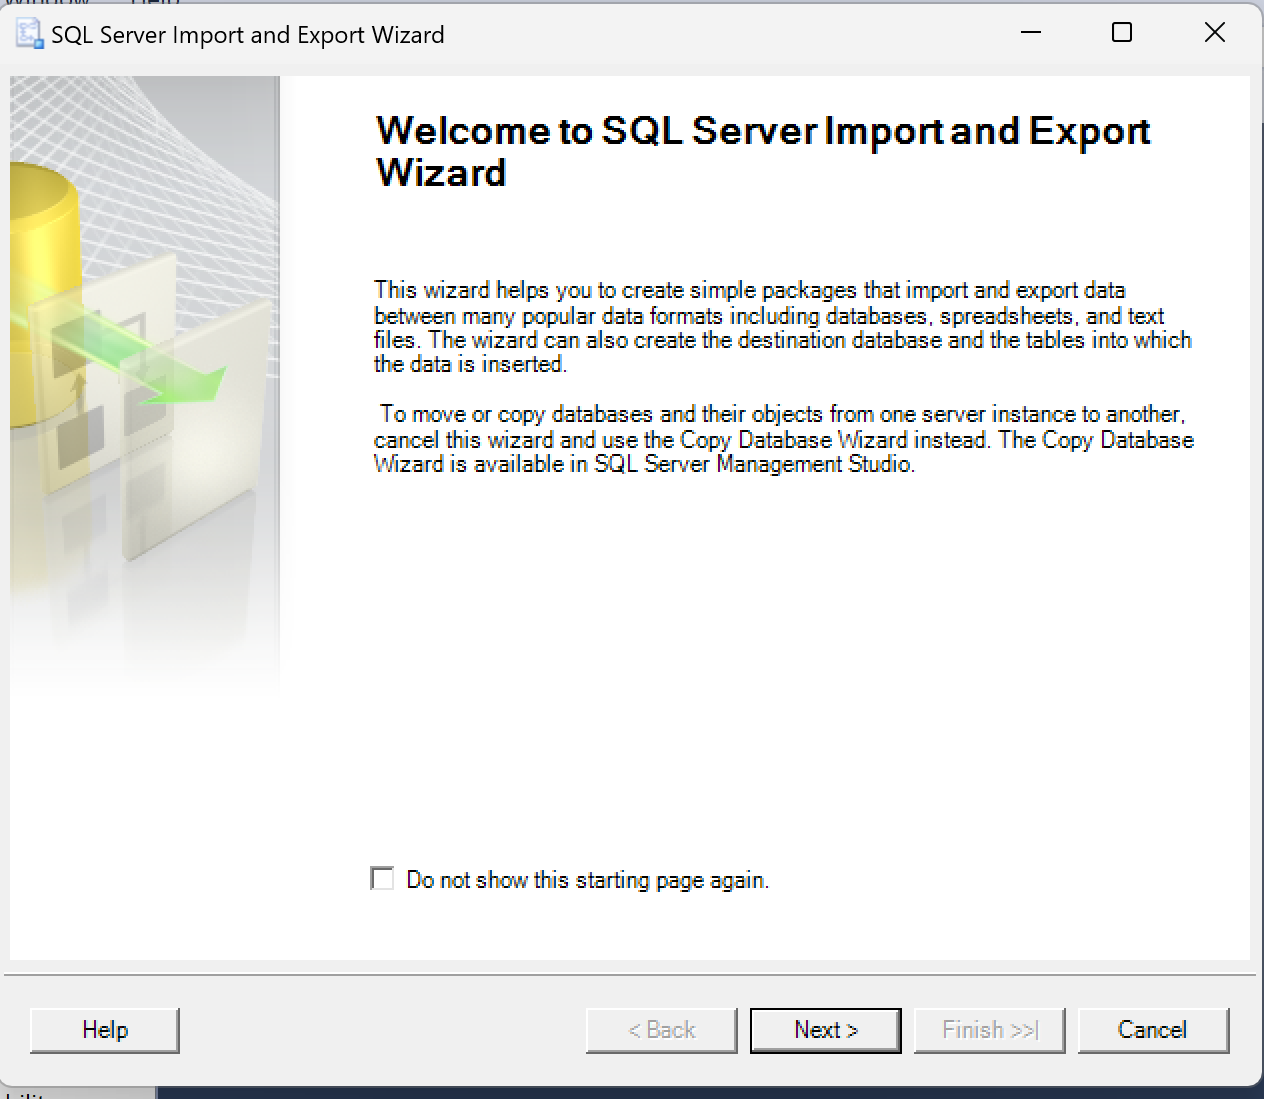
- Click 'Next' and add your data source as 'Microsoft Excel'.
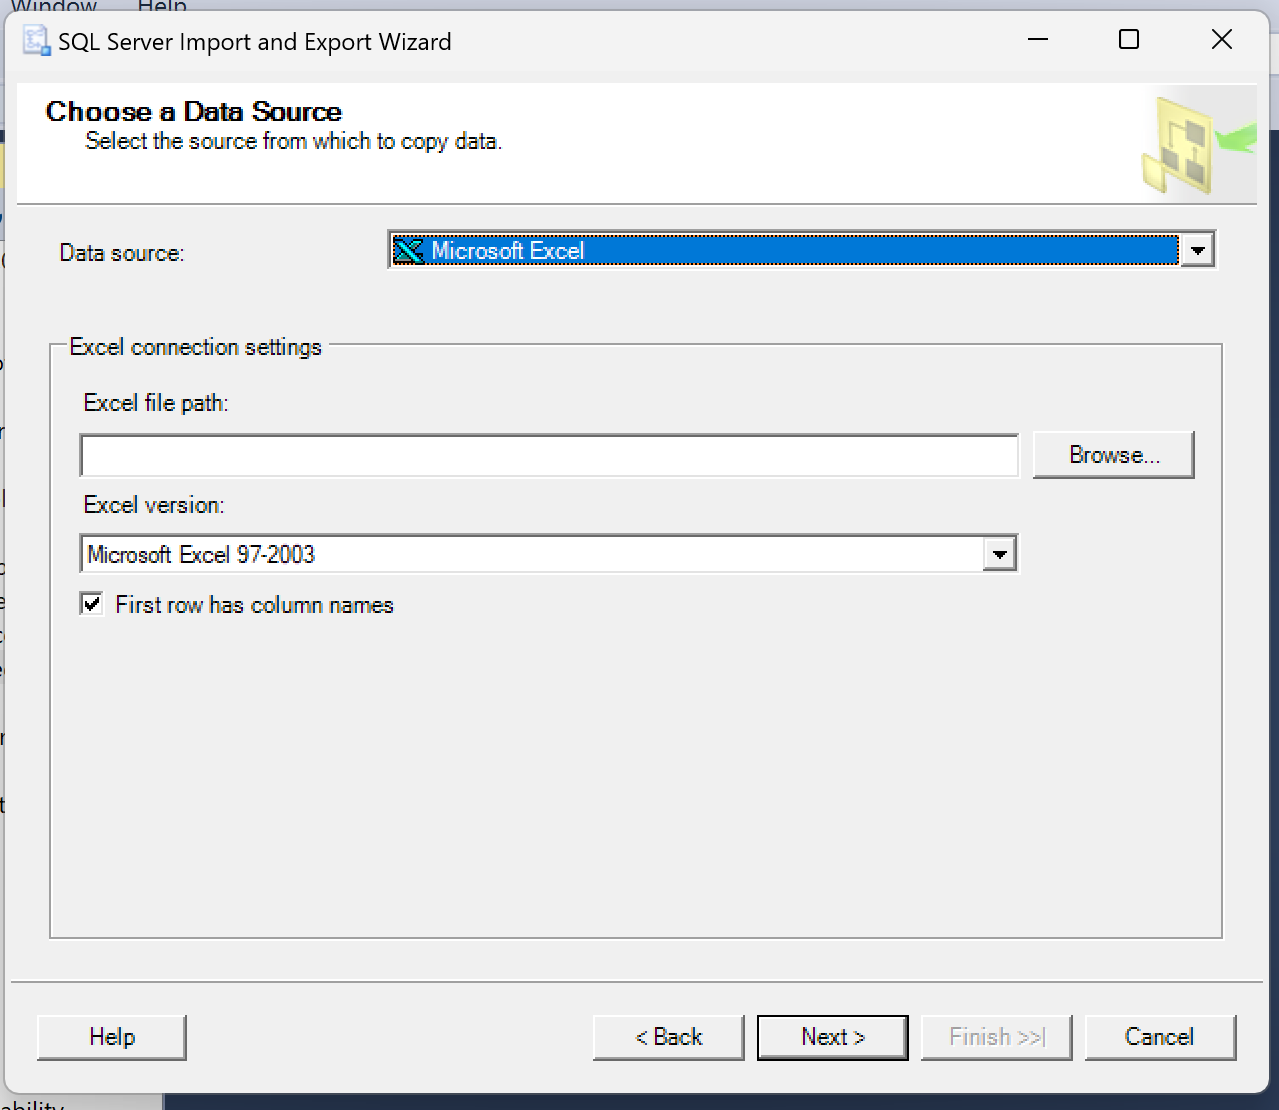
Browse to the location of your Excel file and proceed.
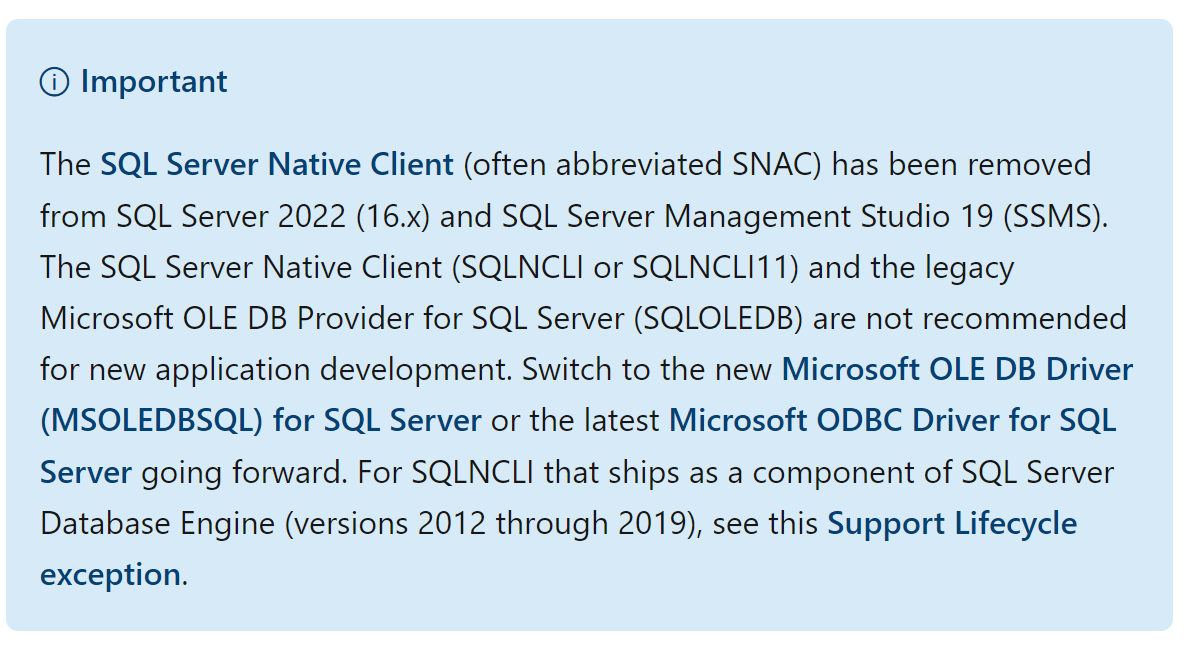
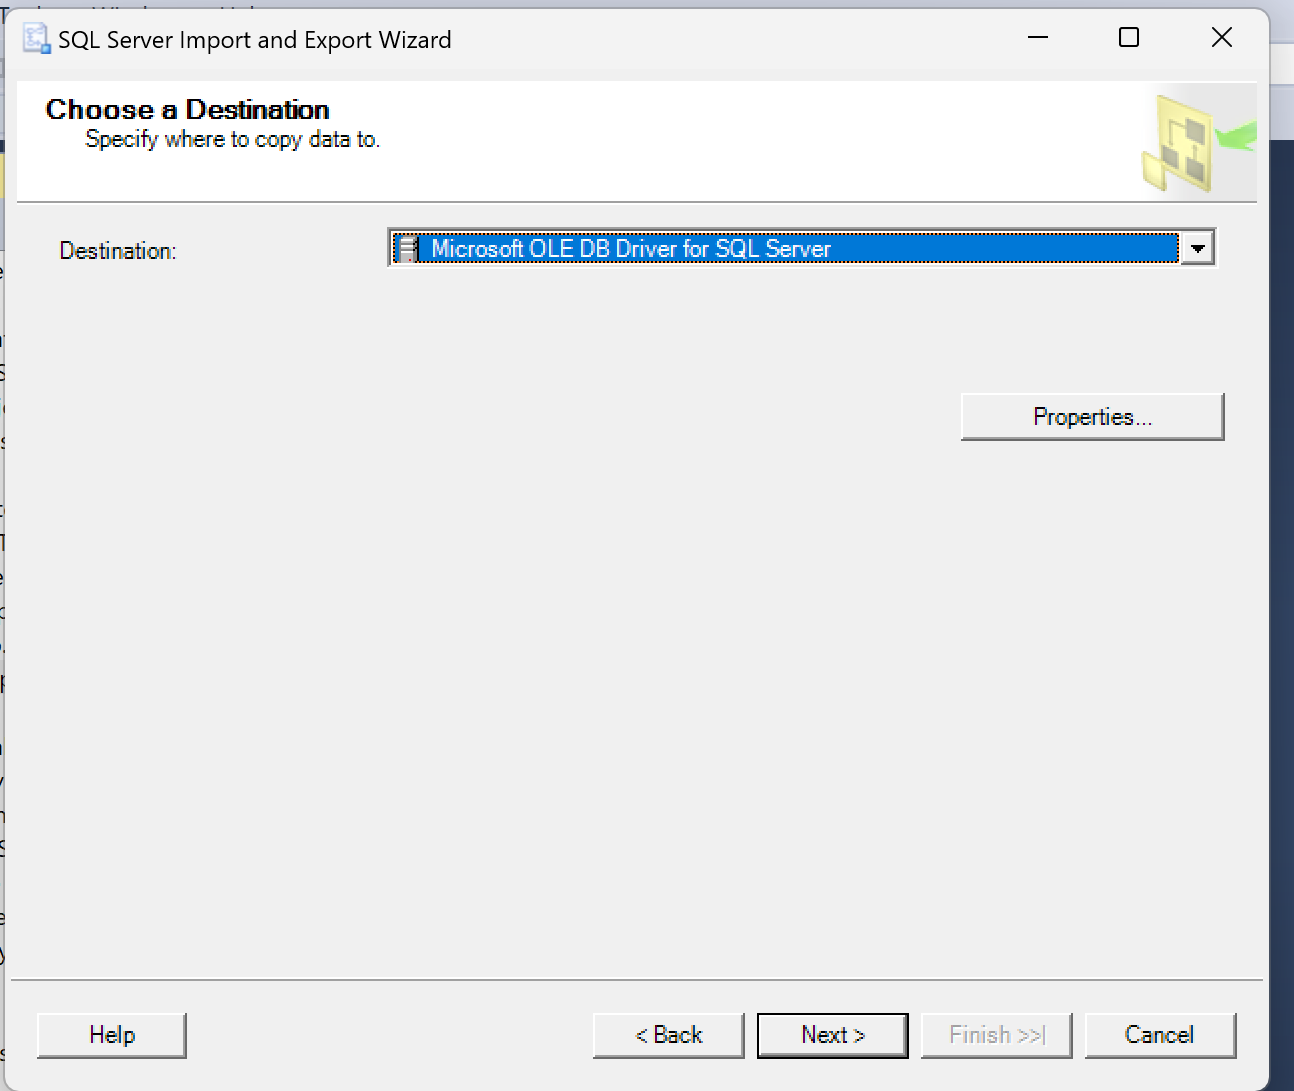
Set the destination to "Microsoft OLE DB Driver for SQL Server", reflecting recent changes in the tools. Follow this link for relevant Microsoft documentation. (extract below)
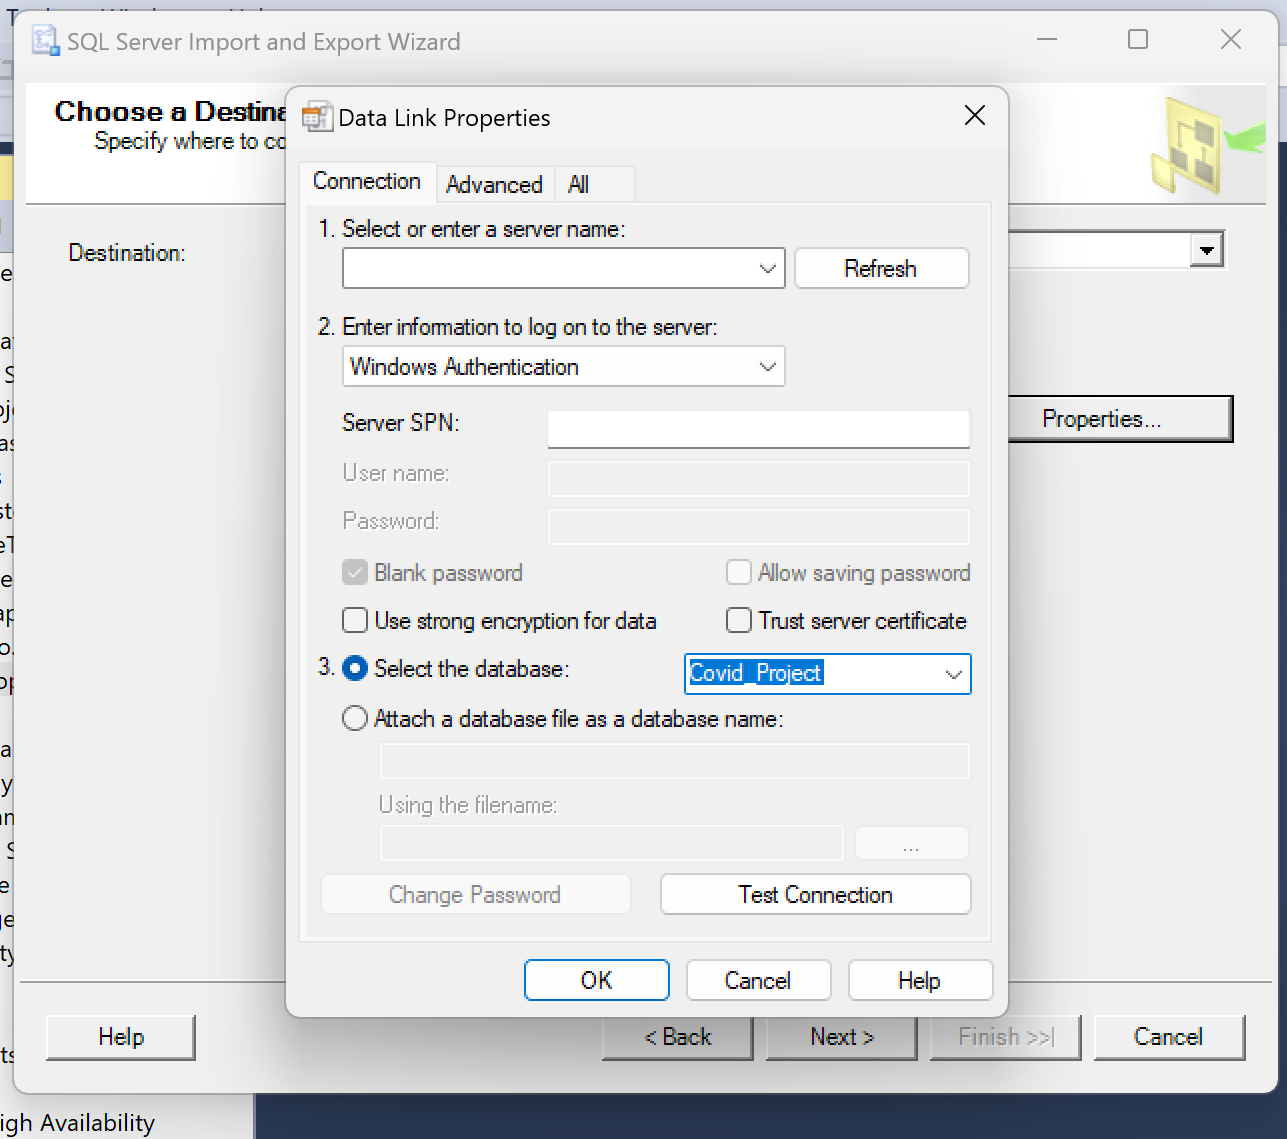
- Click "Properties" and specify Windows Authentication. Select the target database within SSMS.
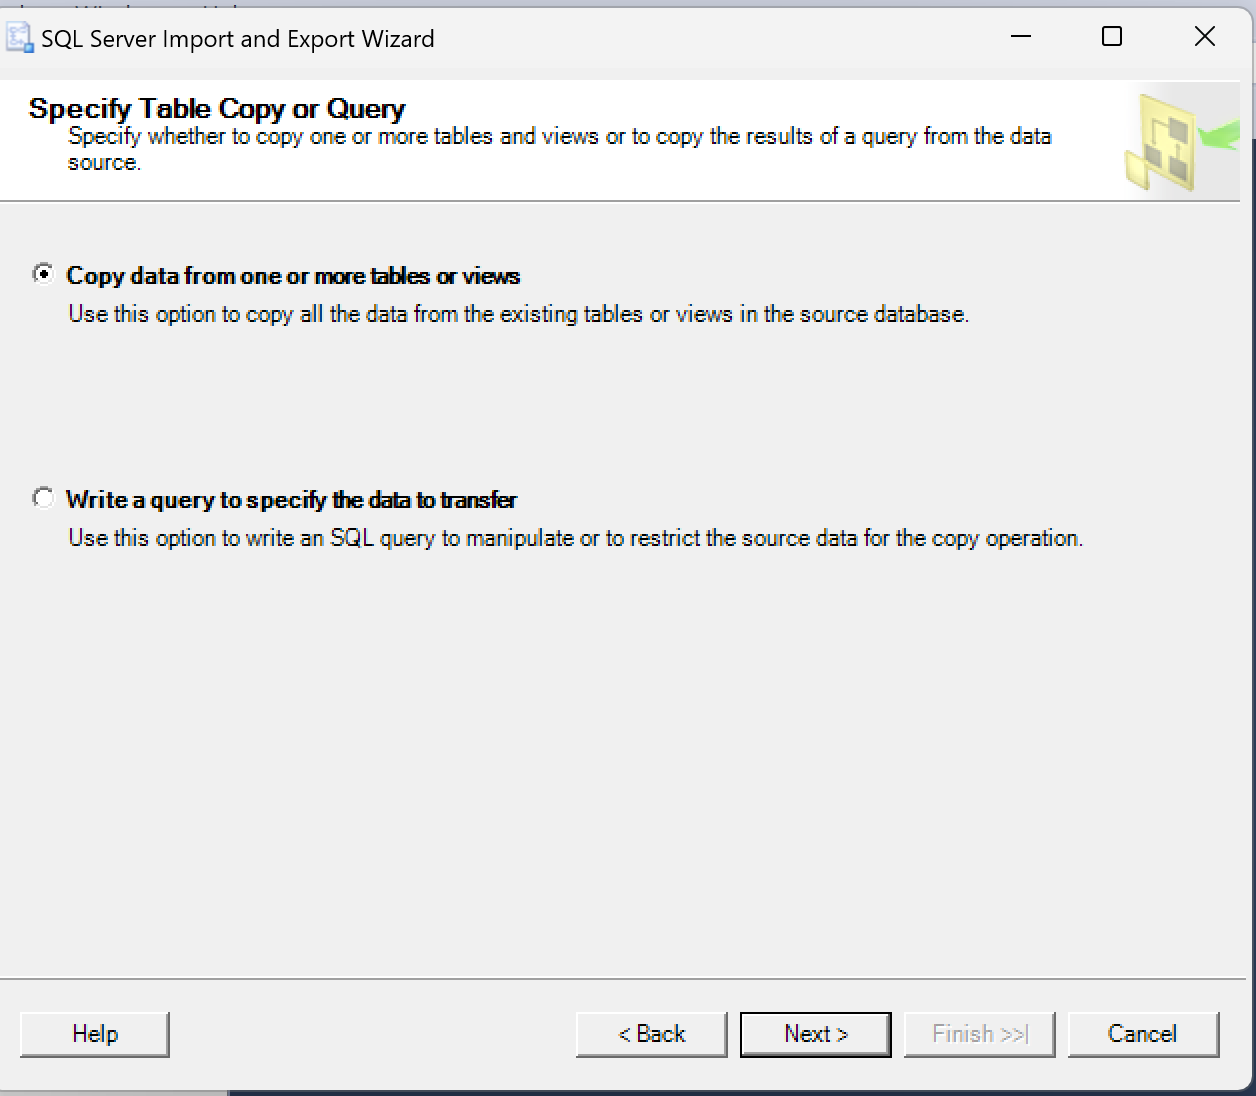
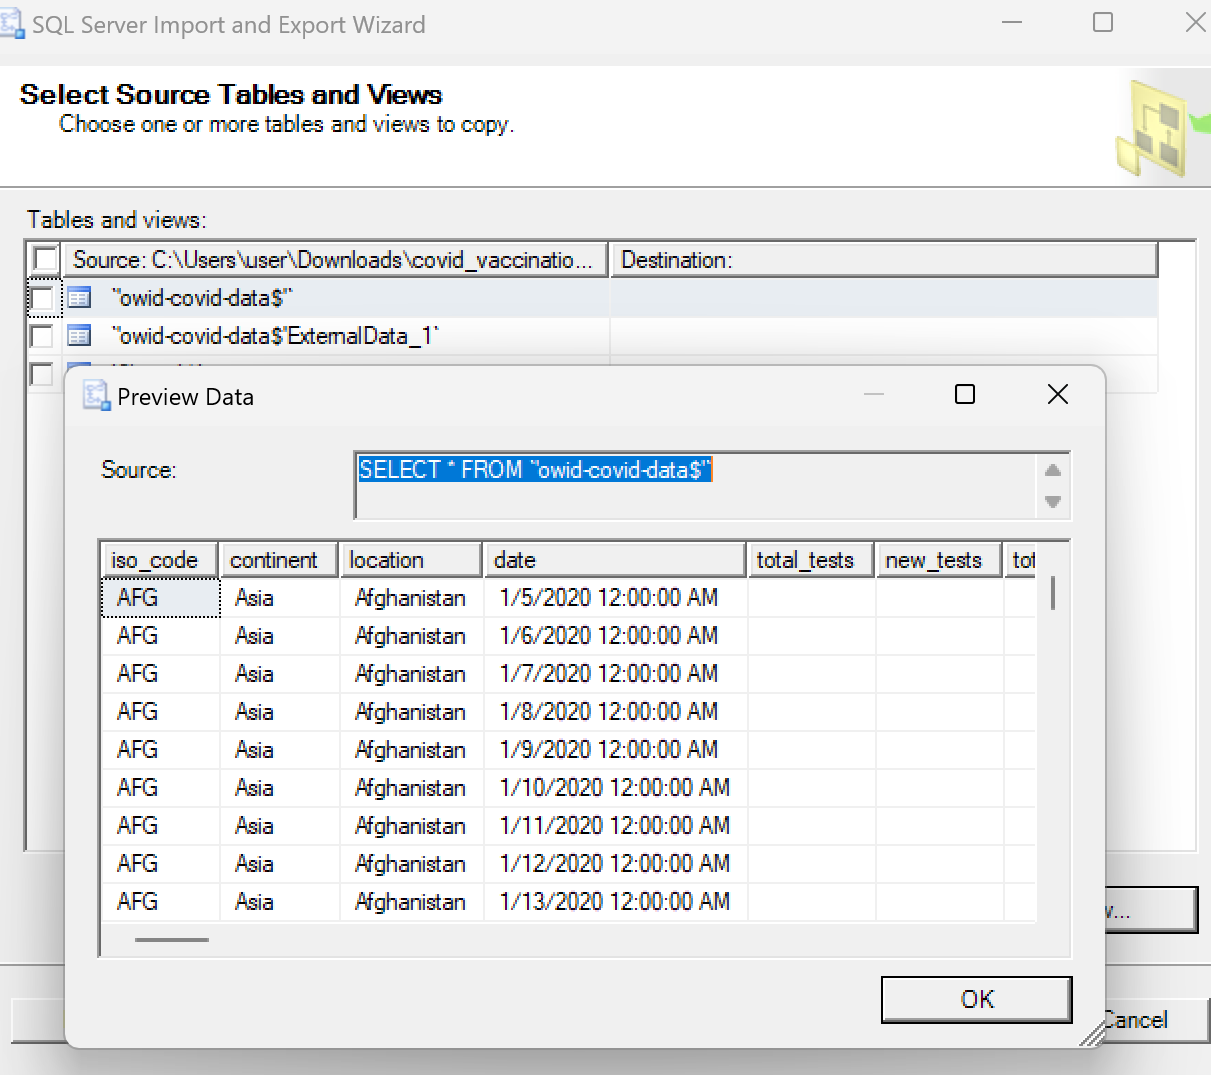
- Choose "Copy data from one table to another" and preview your data using the "Preview" button.
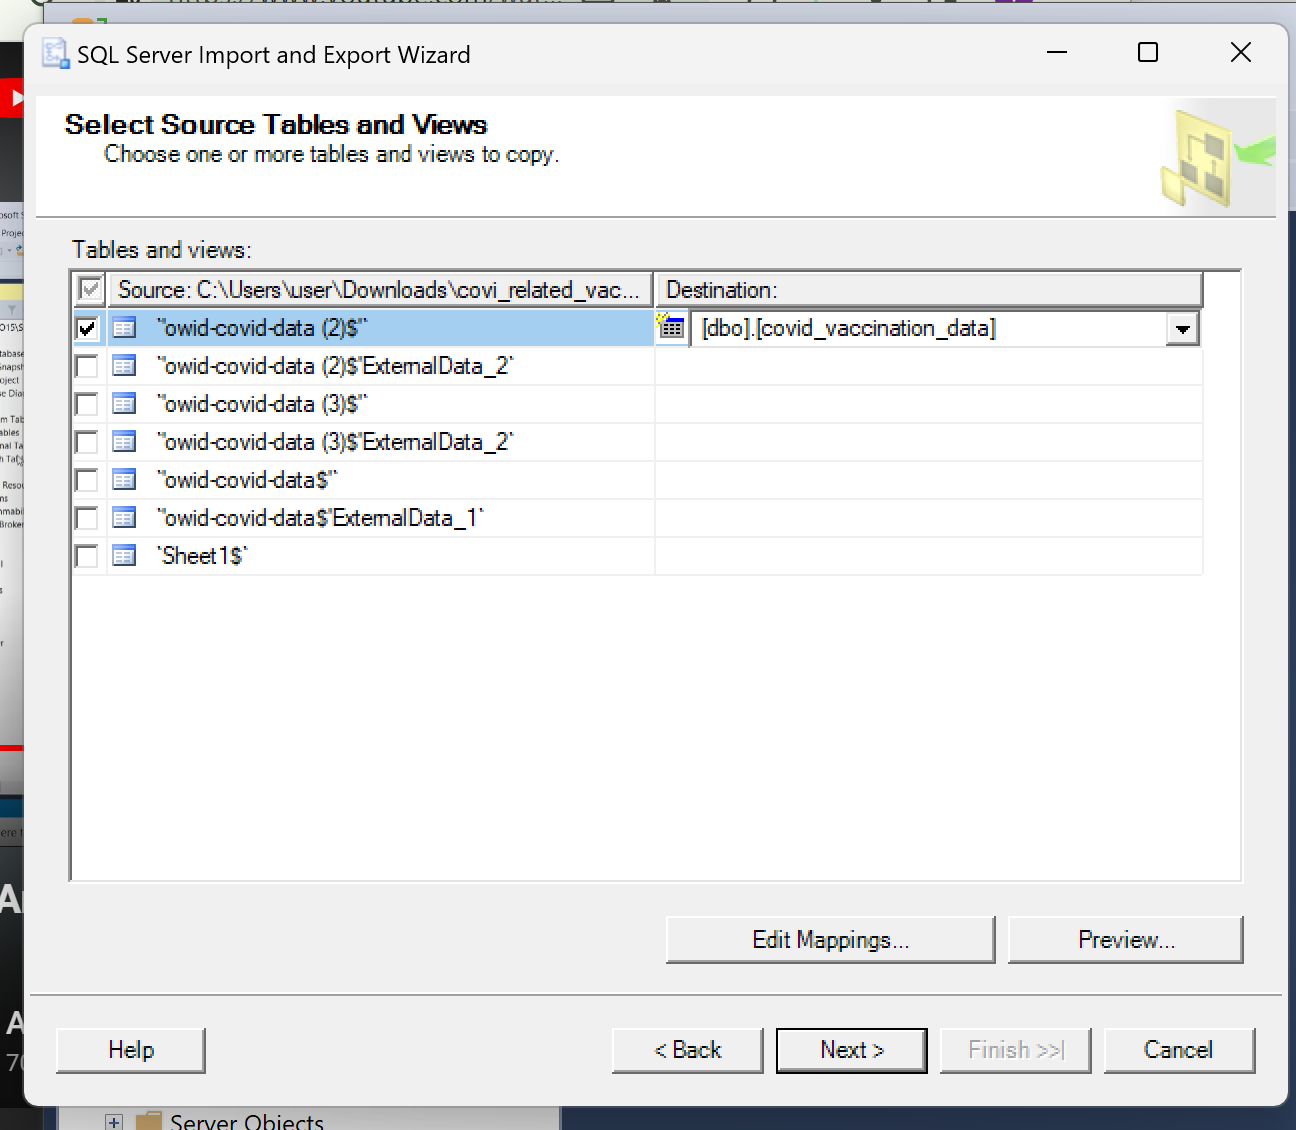
- Select the desired data source and rename the destination file if needed.
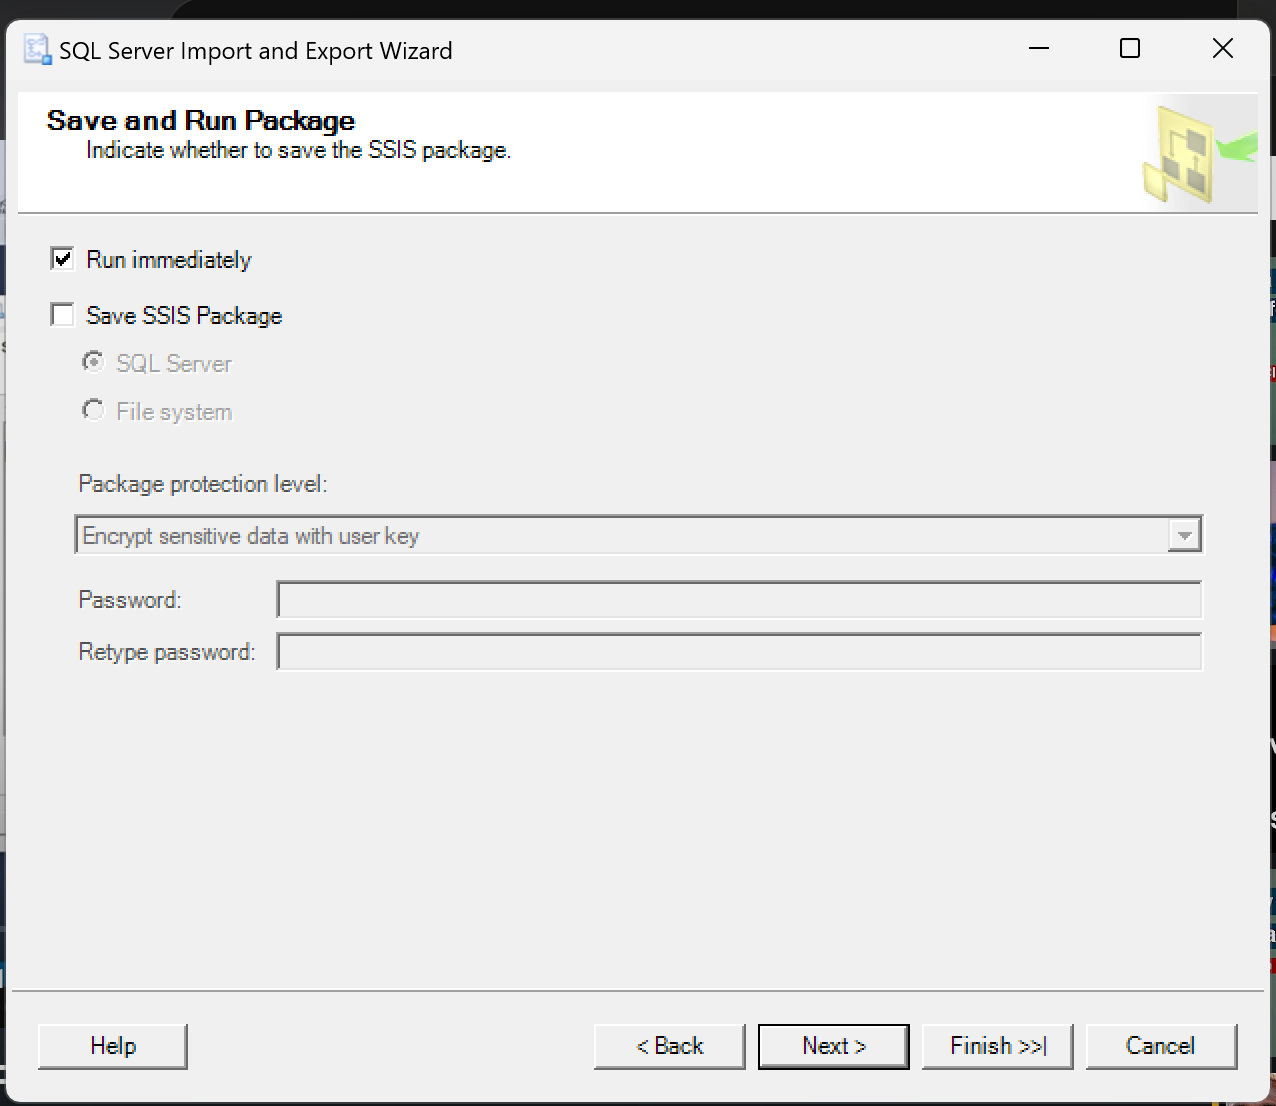
- Check "Run Immediately" and click "Next".
Sit back and relax as the wizard imports your data!
Upon successful import, you'll see a confirmation window.
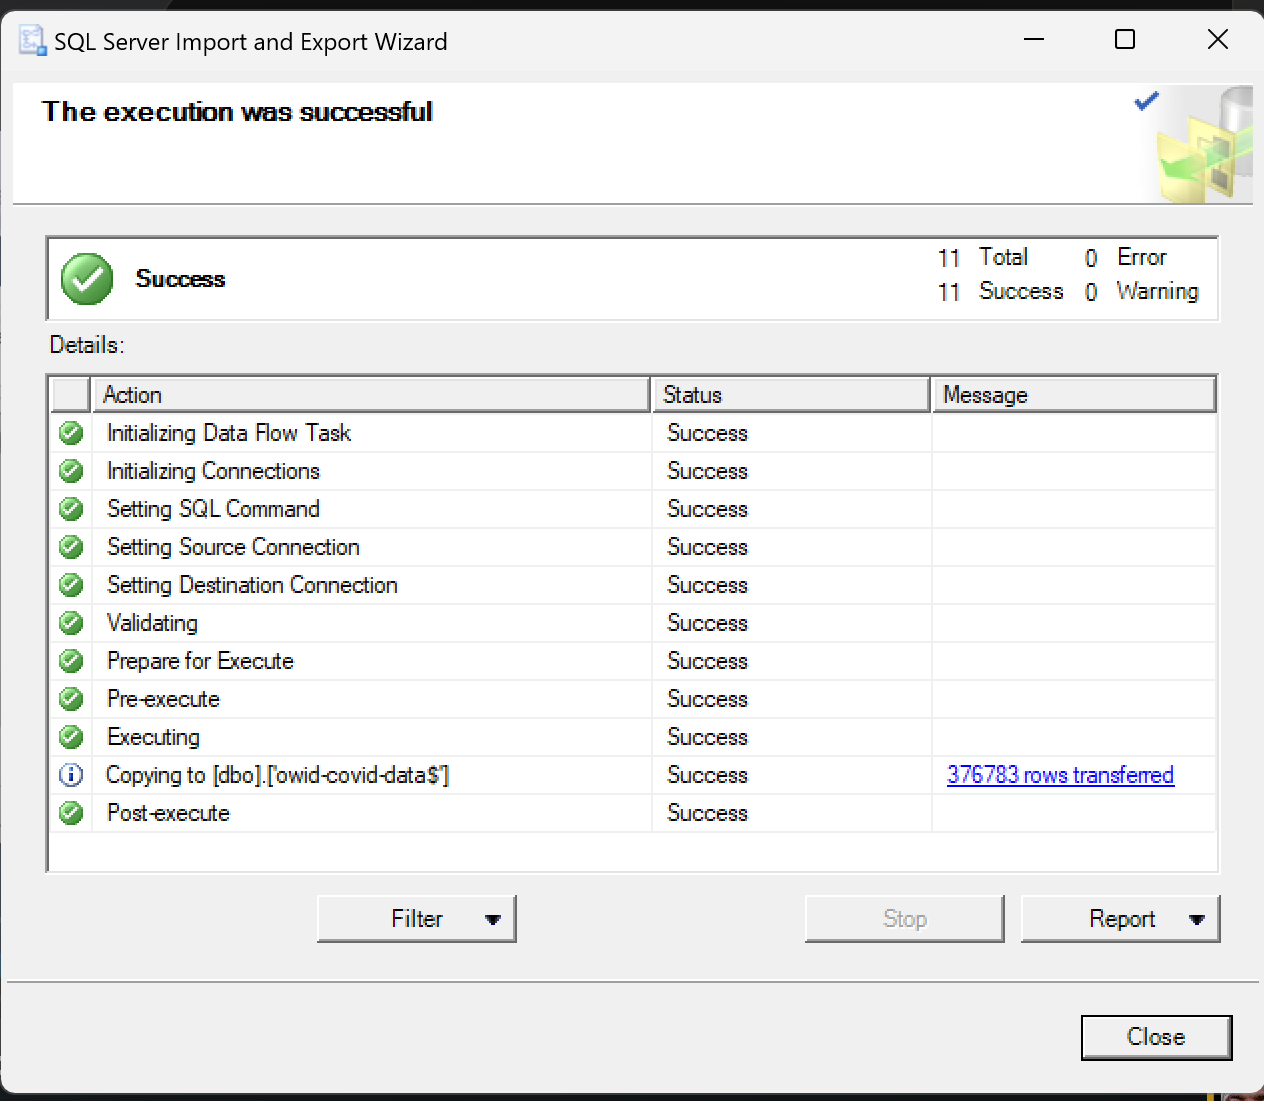
Step 5; Success!
- In your SSMS database, right-click on "Tables" and click "Refresh". Your imported Excel data should now be visible!


