Streamlining Airflow Deployment: Leveraging Docker Compose

Data enthusiast. Curious about all things data.
Data pipelines constitute a crucial element in any data project, enabling us to monitor the flow of data from its source to the desired destination. In this context, Apache Airflow emerges as a powerful platform for managing and orchestrating data pipelines efficiently. This open-source tool facilitates the creation, management, and orchestration of data pipelines.
A particularly user-friendly approach I've discovered for deploying Airflow is through Docker. Docker is an application that enables the creation of containerized and isolated development environments.
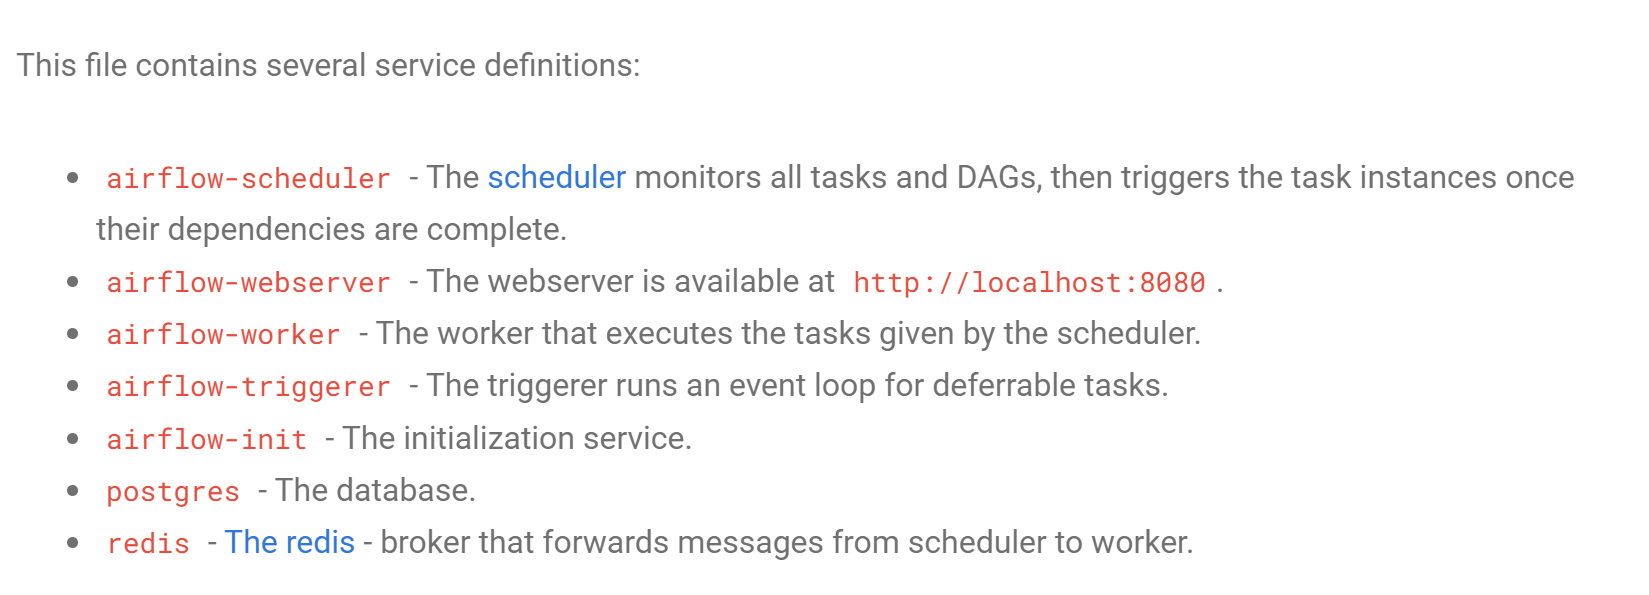
To streamline the process, we will leverage Docker Compose, allowing us to simultaneously run multiple containerized applications. This becomes essential as Airflow encompasses various components, such as the Webserver, Database, Scheduler, Redis, Workers, among others.
Step 1. Download Docker Desktop
Download Link: https://www.docker.com/products/docker-desktop/
Confirm Successful Installation.
Run the following command on the command prompt.

Step 2. Download and Install Docker Compose
As mentioned, it will allow us to run multiple containerized application simultaneously as observed below:
If you're using windows ensure you have curl installed by running the code below in your command prompt. curl is a command-line tool and library for transferring data with URLs.
curl --version
If installed, run the following command in your terminal:

Alternatively, if curl is not installed:

Confirm successful installation:
docker-compose --version
Step 3. Creating directories
Mount local directories (dags, logs, plugins, and config) to their corresponding counterparts within the Docker container. This ensures seamless synchronization between your local development environment and the container.
You should see the volumes section within the docker-compose.yaml file as below:

Create these directories within your code editor. Use the code below on your terminal.
mkdir logs dags plugins config
Step 4. Initialize Docker Compose
Run the following code in your VSCode terminal to initialize.
docker-compose up airflow-init
Upon successful initialization, you'll see the message 'User 'airflow' created with role 'Admin';

Step 5. Start the engines
Within your code editor terminal, run the following command;
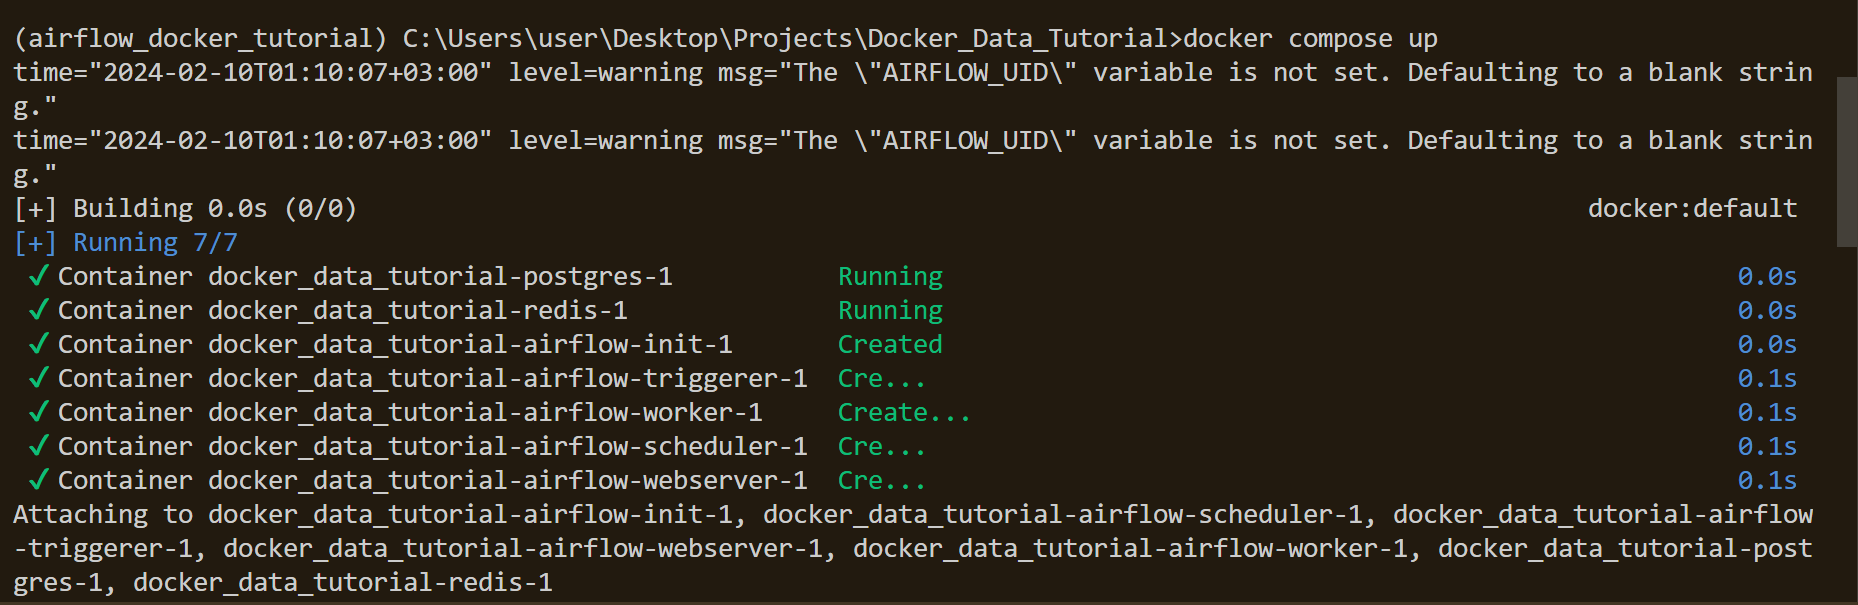
docker compose up
This signals to Docker Compose to start all the containers defined in your configuration. You should see the following activity within your terminal.
Remember: For security reasons, change the default "airflow" username and password after initial setup. Refer to the Airflow web UI documentation for instructions.
Now you're ready to create your data pipelines! Place your DAG files in the ./dags directory within your project.
To access the Airflow web UI and manage your pipelines, open your web browser and navigate tohttp://localhost:8080.
Step 6. Killing the containers
Run the following command in the terminal;
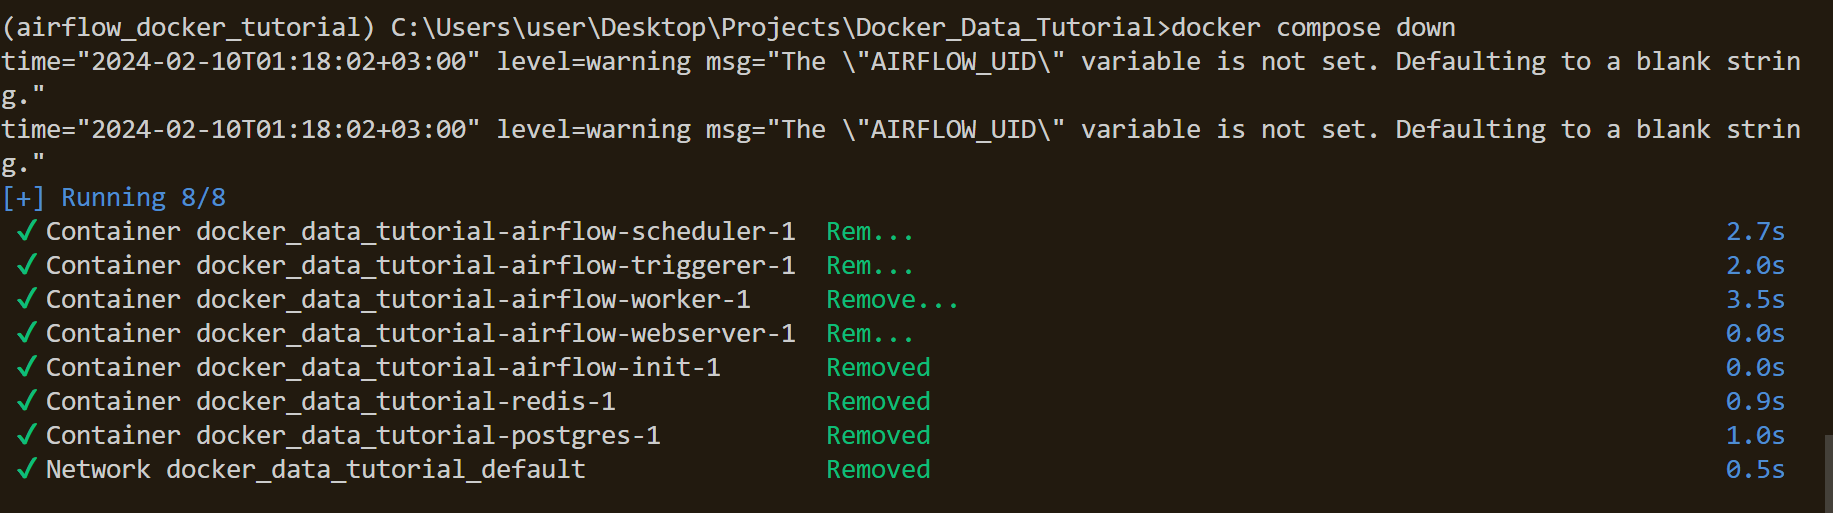
docker compose down
Verify that the containers have stopped successfully;
This should allow a quick and easy way to utilize Airflow for your data pipeline.
Resuming your Airflow Project
Launch Docker Desktop.
Open your IDE and navigate to your project directory.
In your terminal, run
docker-compose up -d. This starts the containers in detached mode, allowing you to close the terminal.Access your Airflow web UI using
http://localhost:8080.Continue working on your project.
Additional Links
- Airflow Documentation ; https://airflow.apache.org/docs/


